
TOP TIPS FOR MAKING THE MOST OUT OF CLAY BALLS
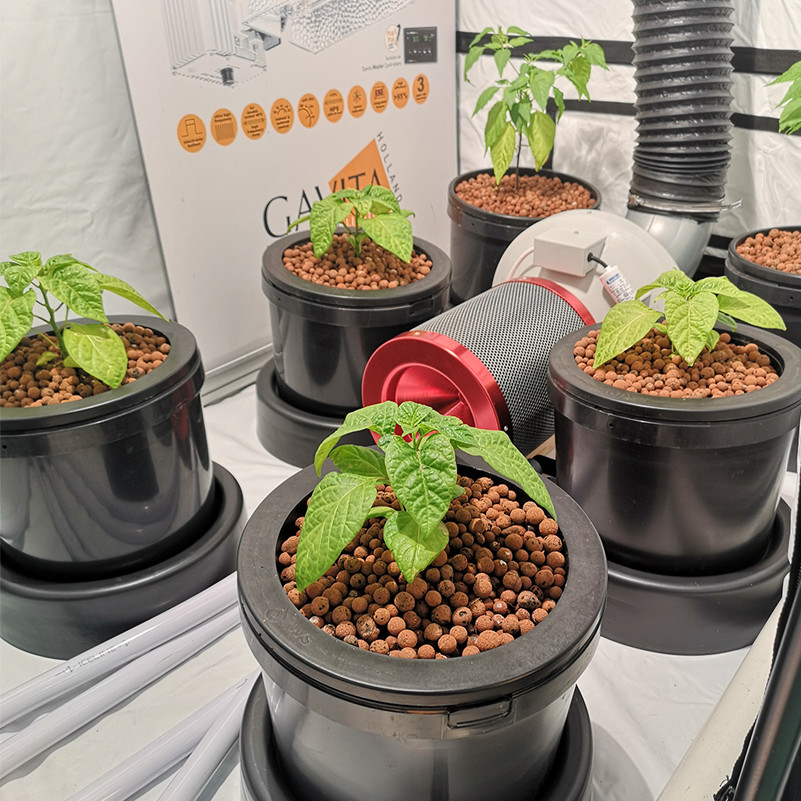
 Pictured: Gold Label HydroCorn
Derived from small pieces of clay processed at extremely high temperatures, expanded clay pebbles are very popular with those growing in hydroponic systems but can also be used in Coco or soil and offer numerous benefits when used properly.
The high-heat levels during the manufacturing process create lightweight porous, uneven pebbles that can assist with water retention and water movement. The uneven appearance and arrangement of the pebbles creates an advantageous environment to boost growth, improve drainage, oxygenate the root zone, encourage beneficial bacterial growth, and help with root binding for superior stability.
Although most commonly used as a sole substrate in recirculating hydroponic systems such as drip or flood and drain systems, clay pebbles can also be used by soil and coco growers as a base layer when potting (to increase drainage) and as a top layer (to reduce the evaporation from the top of the growing medium caused by grow lights). An increasingly popular mix uses 60% clay balls and 40% coco which benefits from the best characteristics of both types of substrate. GrowDog 60/40 is extremely popular as it offers unparalleled quality at a reasonable price.

BENEFITS OF CLAY PEBBLES.
INCREASES AERATION:
Clay pebbles are lightweight, porous and full of oxygen, which increases the aeration for the root system of the plant. The structural formation of the pebbles is light weight and has enough space inside to capture air and release it whenever the plants needs it.
PROVIDES RELIABLE WATER RETENTION AND DRAINAGE:
Clay pebbles offer superior water retention and drainage properties. They collect excess water and store it in the micro pores (tiny holes in the surface of each pebble) for later use. They also help water move more easily around the roots and drain away more efficiently thanks to the large, airy macro-pores (the spaces between each piece of expanded clay). Clay pebbles can be used as a complete growing medium, or as a base layer, or as an additive to Coco or soil, all of which help improve drainage whilst ensuring your roots have the proper amount of water and available to them.
ENVIRONMENT-FRIENDLY:
Clay is 100% organic and environment-friendly. Horticultural Clay Pebbles are made from soil and water that are heated up in a high burning furnace to become porous pebbles. There is no harmful gas or ingredients used during the process, leaving the end product full of minerals and natural components that help plants grow healthy and faster, with no impact on the environment.
REUSABLE
Unless there is major salt or organic build up, you can always wash and reuse your clay pebbles. They have no expiry date, their lifespan depends solely on how you use and look after them.
INCREASED COMPACTION RESISTANCE
Due to the hard shell of the clay balls, once the media is settled in your pot or grow tray, its almost impossible to compact further, meaning that your substrate won’t compact over time, keeping its aeration and drainage capabilities consistent and uniform throughout the plants lifecycle.
TOP TIPS FOR USING CLAY PEBBLES
Rinse and Soak Before Use:
Rinsing makes for a clean start, removing any dust or debris from the manufacturing process that could eventually cause blockages or build up in your system reservoir or elsewhere. Soaking the pebbles for 6-24 hours, preferably with an air stone, allows water to soak through the clay’s micro-pores, making sure that all the pebbles are completely saturated. Clay pebbles are so airy you don’t want the roots to have to travel too far to find water, or they will wilt. A good general rule to stick to is to make sure a 3-inch radius of pebbles around your plants is always fully saturated.
ADD A SMALL AMOUNT OF NUTRIENTS BEFORE USE:
After rinsing the media, place it in a container and fill with a nutrient solution with an EC of no more than 0.4. If you don’t have a ppm/EC meter, you can just use your base feed at 1/4 strength. 1/4 strength is sufficient because the nutrient will already be at a concentrated level once stored within the pebble. This preps the pebbles and infuses them with nutrients for the plants to take up from the very start.
RINSE PEBBLES REGULARLY:
Clay pebbles are classed as an “inert” medium in that they lack the ability to provide any real measurable nutrients to the plant in their original state. They do have a high CEC value however which means that the clay has the ability to bind with and hold nutrients for longer. As a result of this you may notice a whitish substance forming on top of your pebbles. This is salt residue which could eventually cause phytotoxicity, which chokes out and starves the plant of water or nutrients.
To prevent this from occurring, if you are using pots, regularly pull your plants from the system and rinse the pebbles thoroughly using fresh, pH-adjusted water. If you’re not using pots, just flush the entire system using fresh, pH-adjusted water. Doing this will keep your system free of any toxic salt build-up. Using a plant enzyme additive is a good solution to remove all the build up.
INCREASING WATER RETENTION
Crushing clay pebbles breaks them into smaller pieces, reducing the size of the macro-pores and increasing water retention, which is ideal during the sensitive germination stage.
Treat crushed pebbles as a traditional potting mix when they are in this state. If you are using crushed pebbles with a net pot then try not to crush them too finely, as they will pass through the net pot.
STARTING SEEDS WITH CLAY PEBBLES
Many people start seeds in stonewool and then transfer to clay pebbles however it is possible to start seedlings in Clay. You need small net pots, of about 1.5 and 2.5 inches wide. Fill with pre-soaked clay pebbles. Put your seeds on the top and then cover with a few loose pebbles. The pots can then be placed in a propagator with a mister and timer attached.
The mister should be set to disperse short 5-10 second bursts every 2-3 hours. This misting along with the pre-soaked pebbles should create an atmosphere humid enough to encourage germination. If you do not have a mister or timer you can manually water and mist with a spray bottle every day until germination occurs.
STARTING CLONES WITH CLAY PEBBLES
If you are using clay pebbles to raise clones then there are two methods you can use. The low transplant technique, usually used in deep water culture and the top drip method which is used for dripper systems.
The low transplant technique is very simple, fill your net pot no more than half full and plant your clone no less than 1 inch deep. Doing this allows the clay pebbles that are under water in the DWC reservoir to act as a wick for the pebbles above the water line where the clone has been positioned.
The top drip method is used for drip systems, starting deep water culture systems or starting ebb and flood systems, the aim being to soak the pebbles efficiently so that your clones root quicker. To do this, your drippers should be placed close to the freshly placed cutting and should be dripping at a steady rate of about 1 gallon an hour. If the pebbles are properly soaked and the emitters are fastened correctly, your clones will root quickly and easily.